It consists of the following areas:
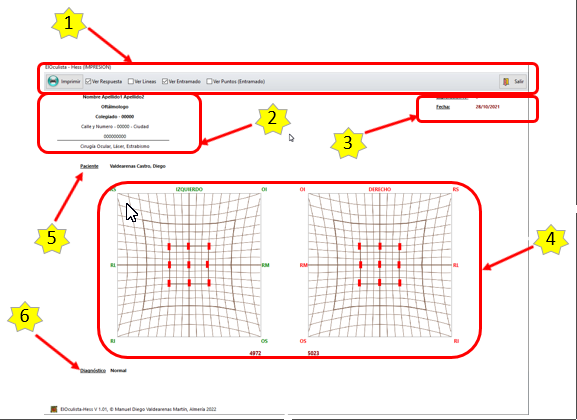
- Command Area (1).

- "Print" button.
Pressing it brings up the print dialog box. You can vary the destination printer, number of copies …
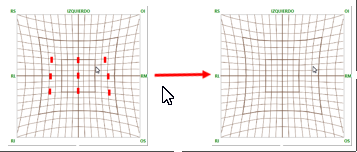
- Option “View Response”.
Makes the red rectangles of patient responses visible or invisible.
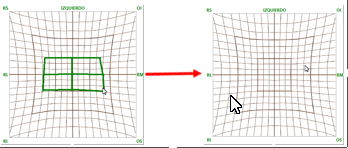
- Option "See Lines".
Makes the green lines joining the patient response rectangles visible or invisible.
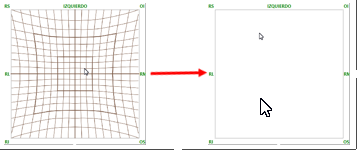
- Option “View Lattice”.
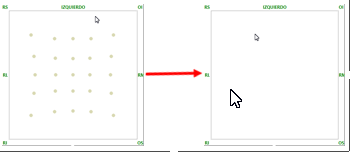
Makes Hess screen lattice visible or invisible.
- Option “View Points (Lattice)”.
Makes Hess's usual screen dots visible or invisible.
- “Exit” button.
Close the print screen and return to the main screen.
Combining the different options you can have different output formats:
· Only the red answer rectangles.
· Only the polygon of green lines built with the answers.
· The rectangles and the polygon at the same time.

- Information of the Doctor or Clinic (2).
Clinic or doctor's letterhead.
- Scan data (3).
Scan date and number.
- Scan graph (4).
Remember that your disposition is as if the patient were looking at you.
- Name of patient (5).
- Diagnosis (6).
