It consists of the following areas:

- Command area (1).

- “Print" button (1).
When you click on it, the print dialogue box appears. You can change the destination printer, number of copies...
- "View Response" option (2).
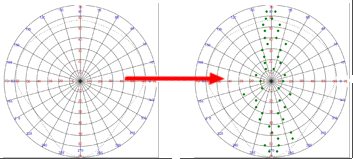
Makes the points corresponding to the patient's response visible or invisible.

- Selector "Field of View" (3).
Green colour selected, you will see the answer corresponding to the gaze field if it has been made.
The switch must be moved to the right or left.
- "Binocular field" selector (4).
Blue colour selected, you will see the answer corresponding to the gaze field if it has been made.
The switch must be moved to the right or left.
- "Diplopia field" selector (5).
Red colour selected, you will see the answer corresponding to the gaze field if it has been made.
The switch must be moved to the right or left.
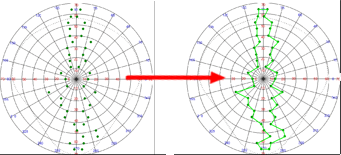
- "View Lines" option (6).
Makes the green lines connecting the patient's response points visible or invisible.

- "Exit" button (7).
Closes the print screen and returns to the main screen.
- Physician or Clinic Details (2).
Clinic or doctor's letterhead.
- Scan data (3).
Date and scan number.
- Scan graph (4).
- Patient's name (5).
- Diagnosis (6).
